
The Korean pancake family contains many members and today we will be making a very tasty version. This is perhaps my third favorite Korean pancake after the kimchi pancake (김치전) and zucchini pancake (호박부침개). This food is the perfect dish after a hike in the mountains, paired with some makkoli or other alcohol, and shared with friends. This is a very common drinking side dish (an ju – 안주) and even at home, it’s hard to eat it without at least a glass of wine on the side. So, grab some friends, get a good conversation going, grab some drinks, sit down, and enjoy this wonderful dish!
This can also be considered banchan. Cut it up in squares about 1.5 inches wide and put it in the refrigerator. It is not “meet” banchan meaning that you will have to eat it quicker and it will go bad in about a week.
- Prep Time: 10-15 minutes
- Cooking Time: 15-25 minutes
- Total Time: ~25-40 minutes
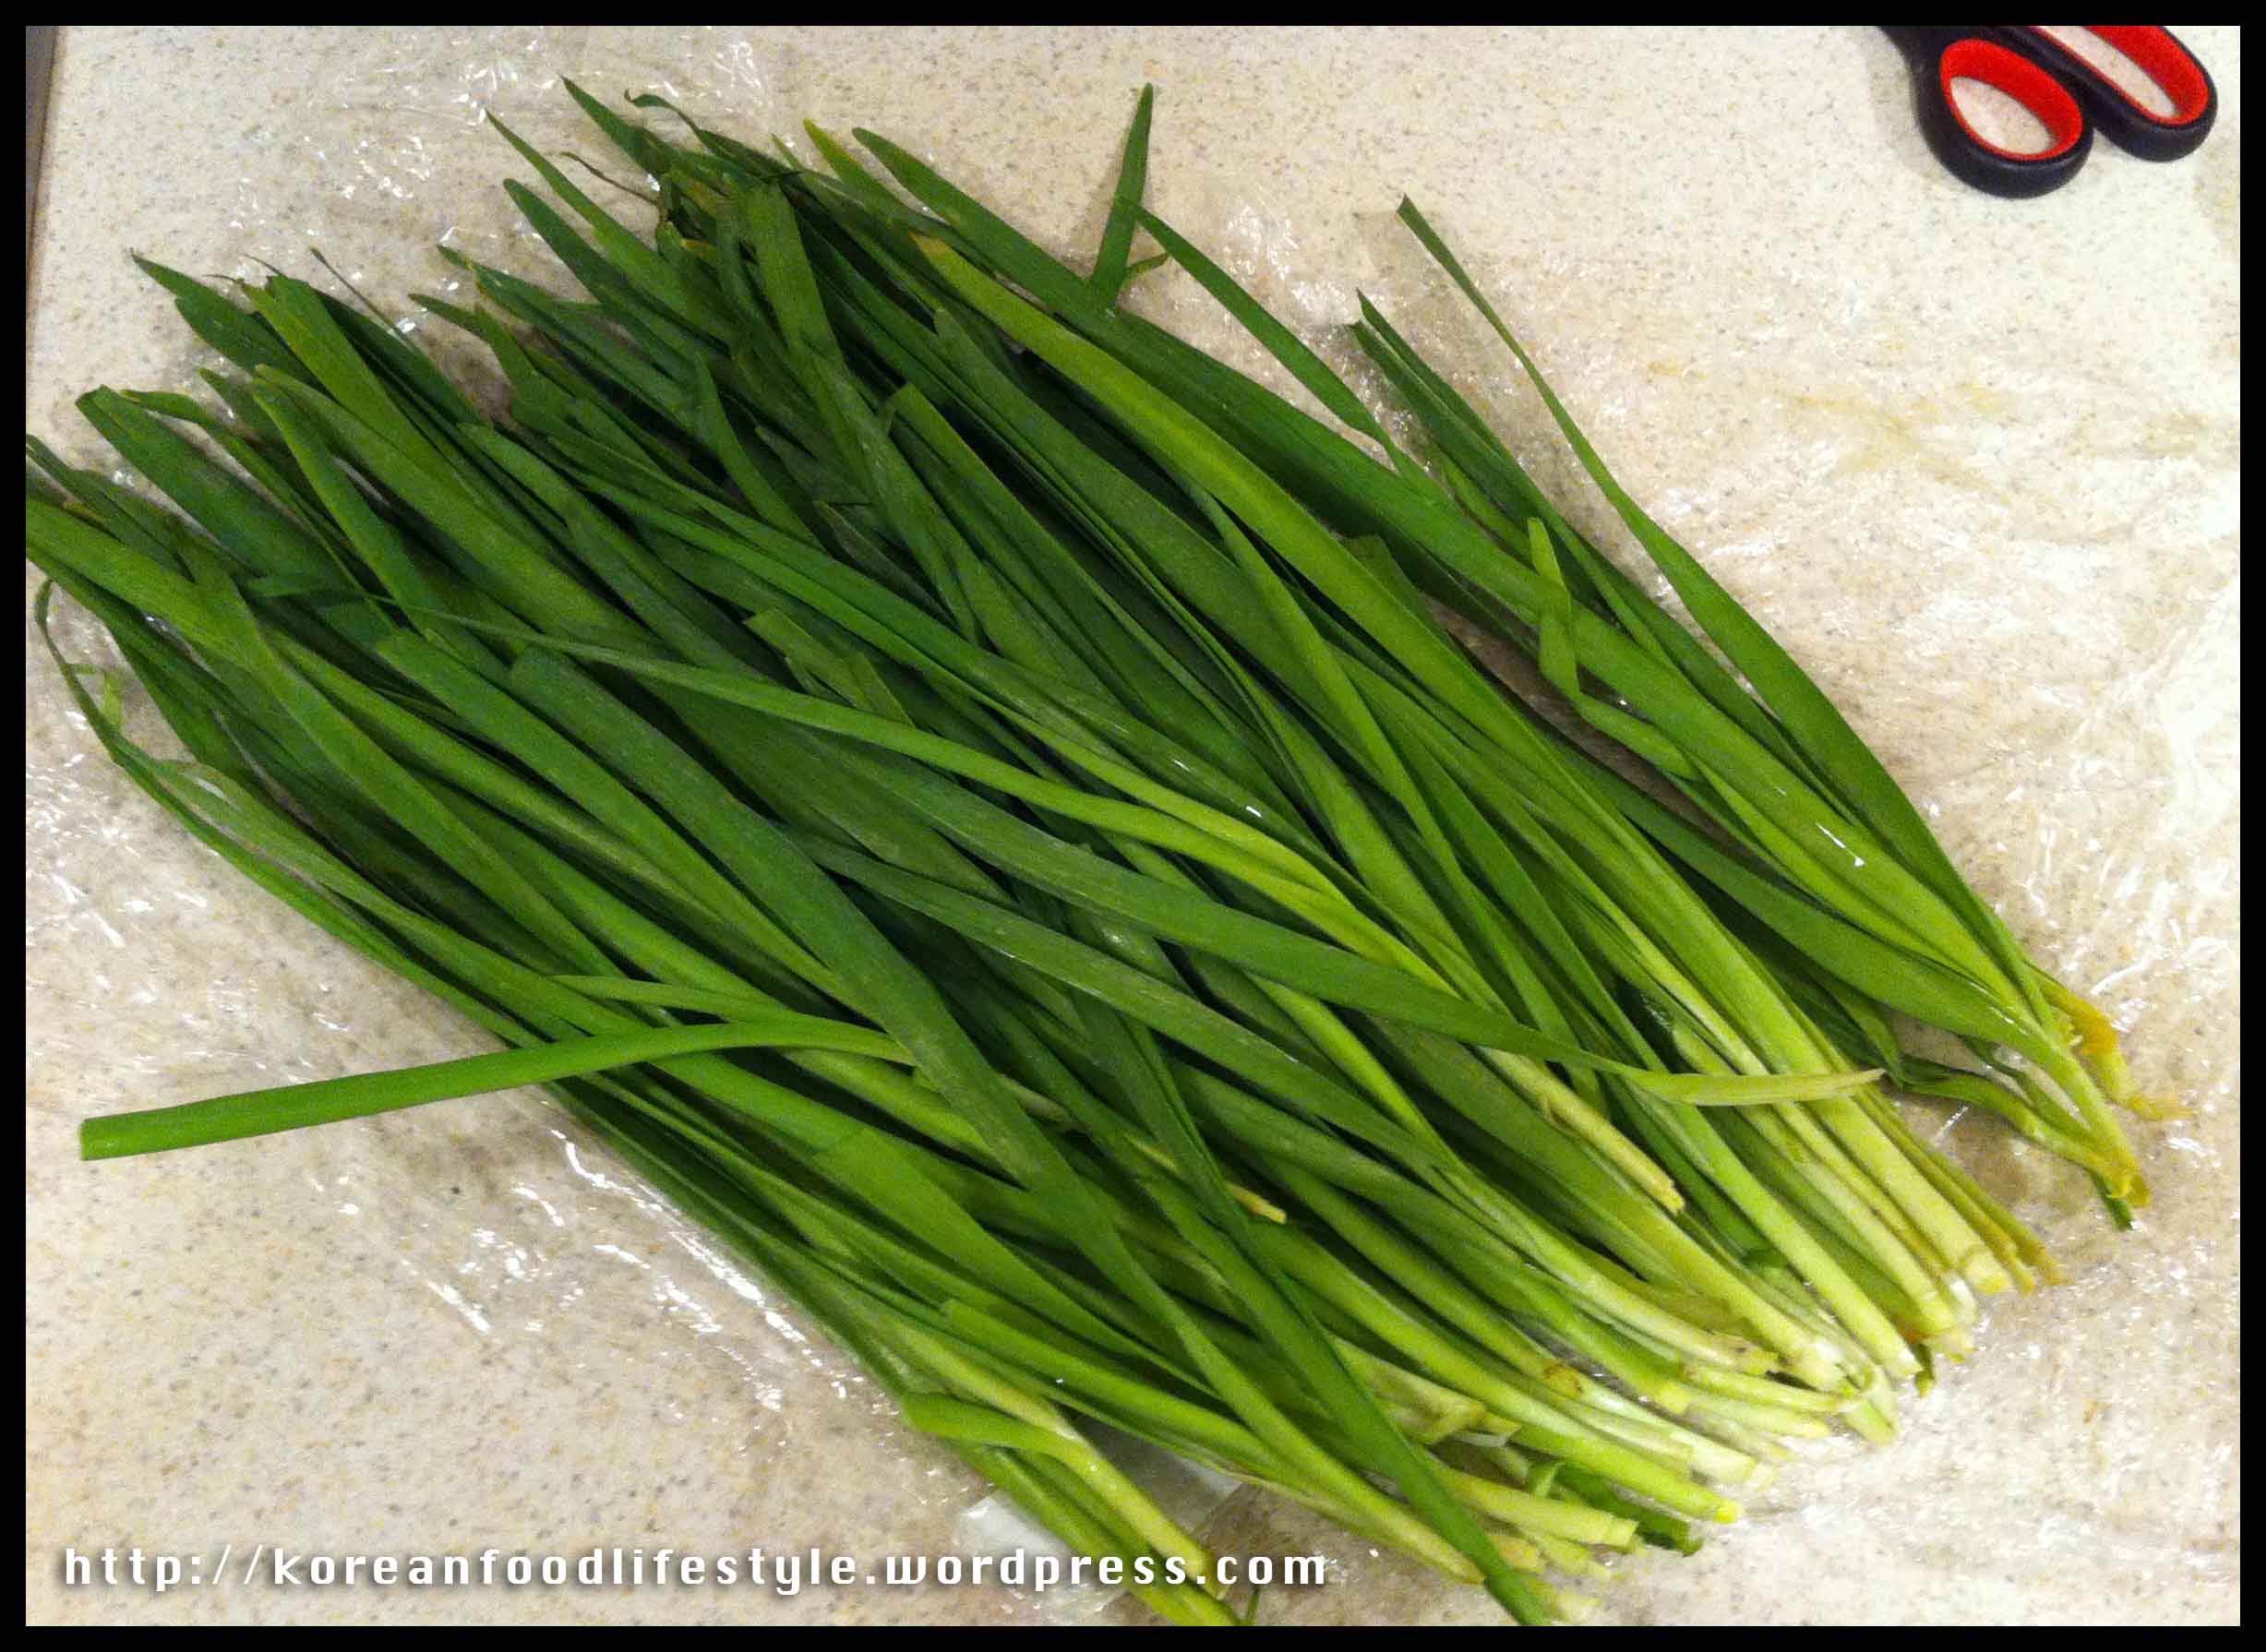
- 1 bunch of Korean Chives (aka Chinese Chives) (bu chu – 부추)
- 1 sweet onion (yang pa – 양파)
- 1-2 carrots (dang geun – 당근)
- 1/2 lbs bay scallops* (ga ri bi – 가리비)
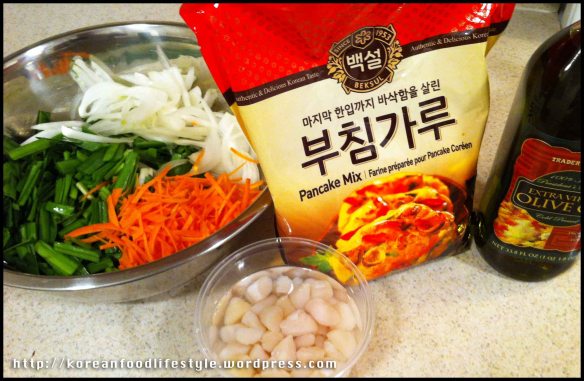
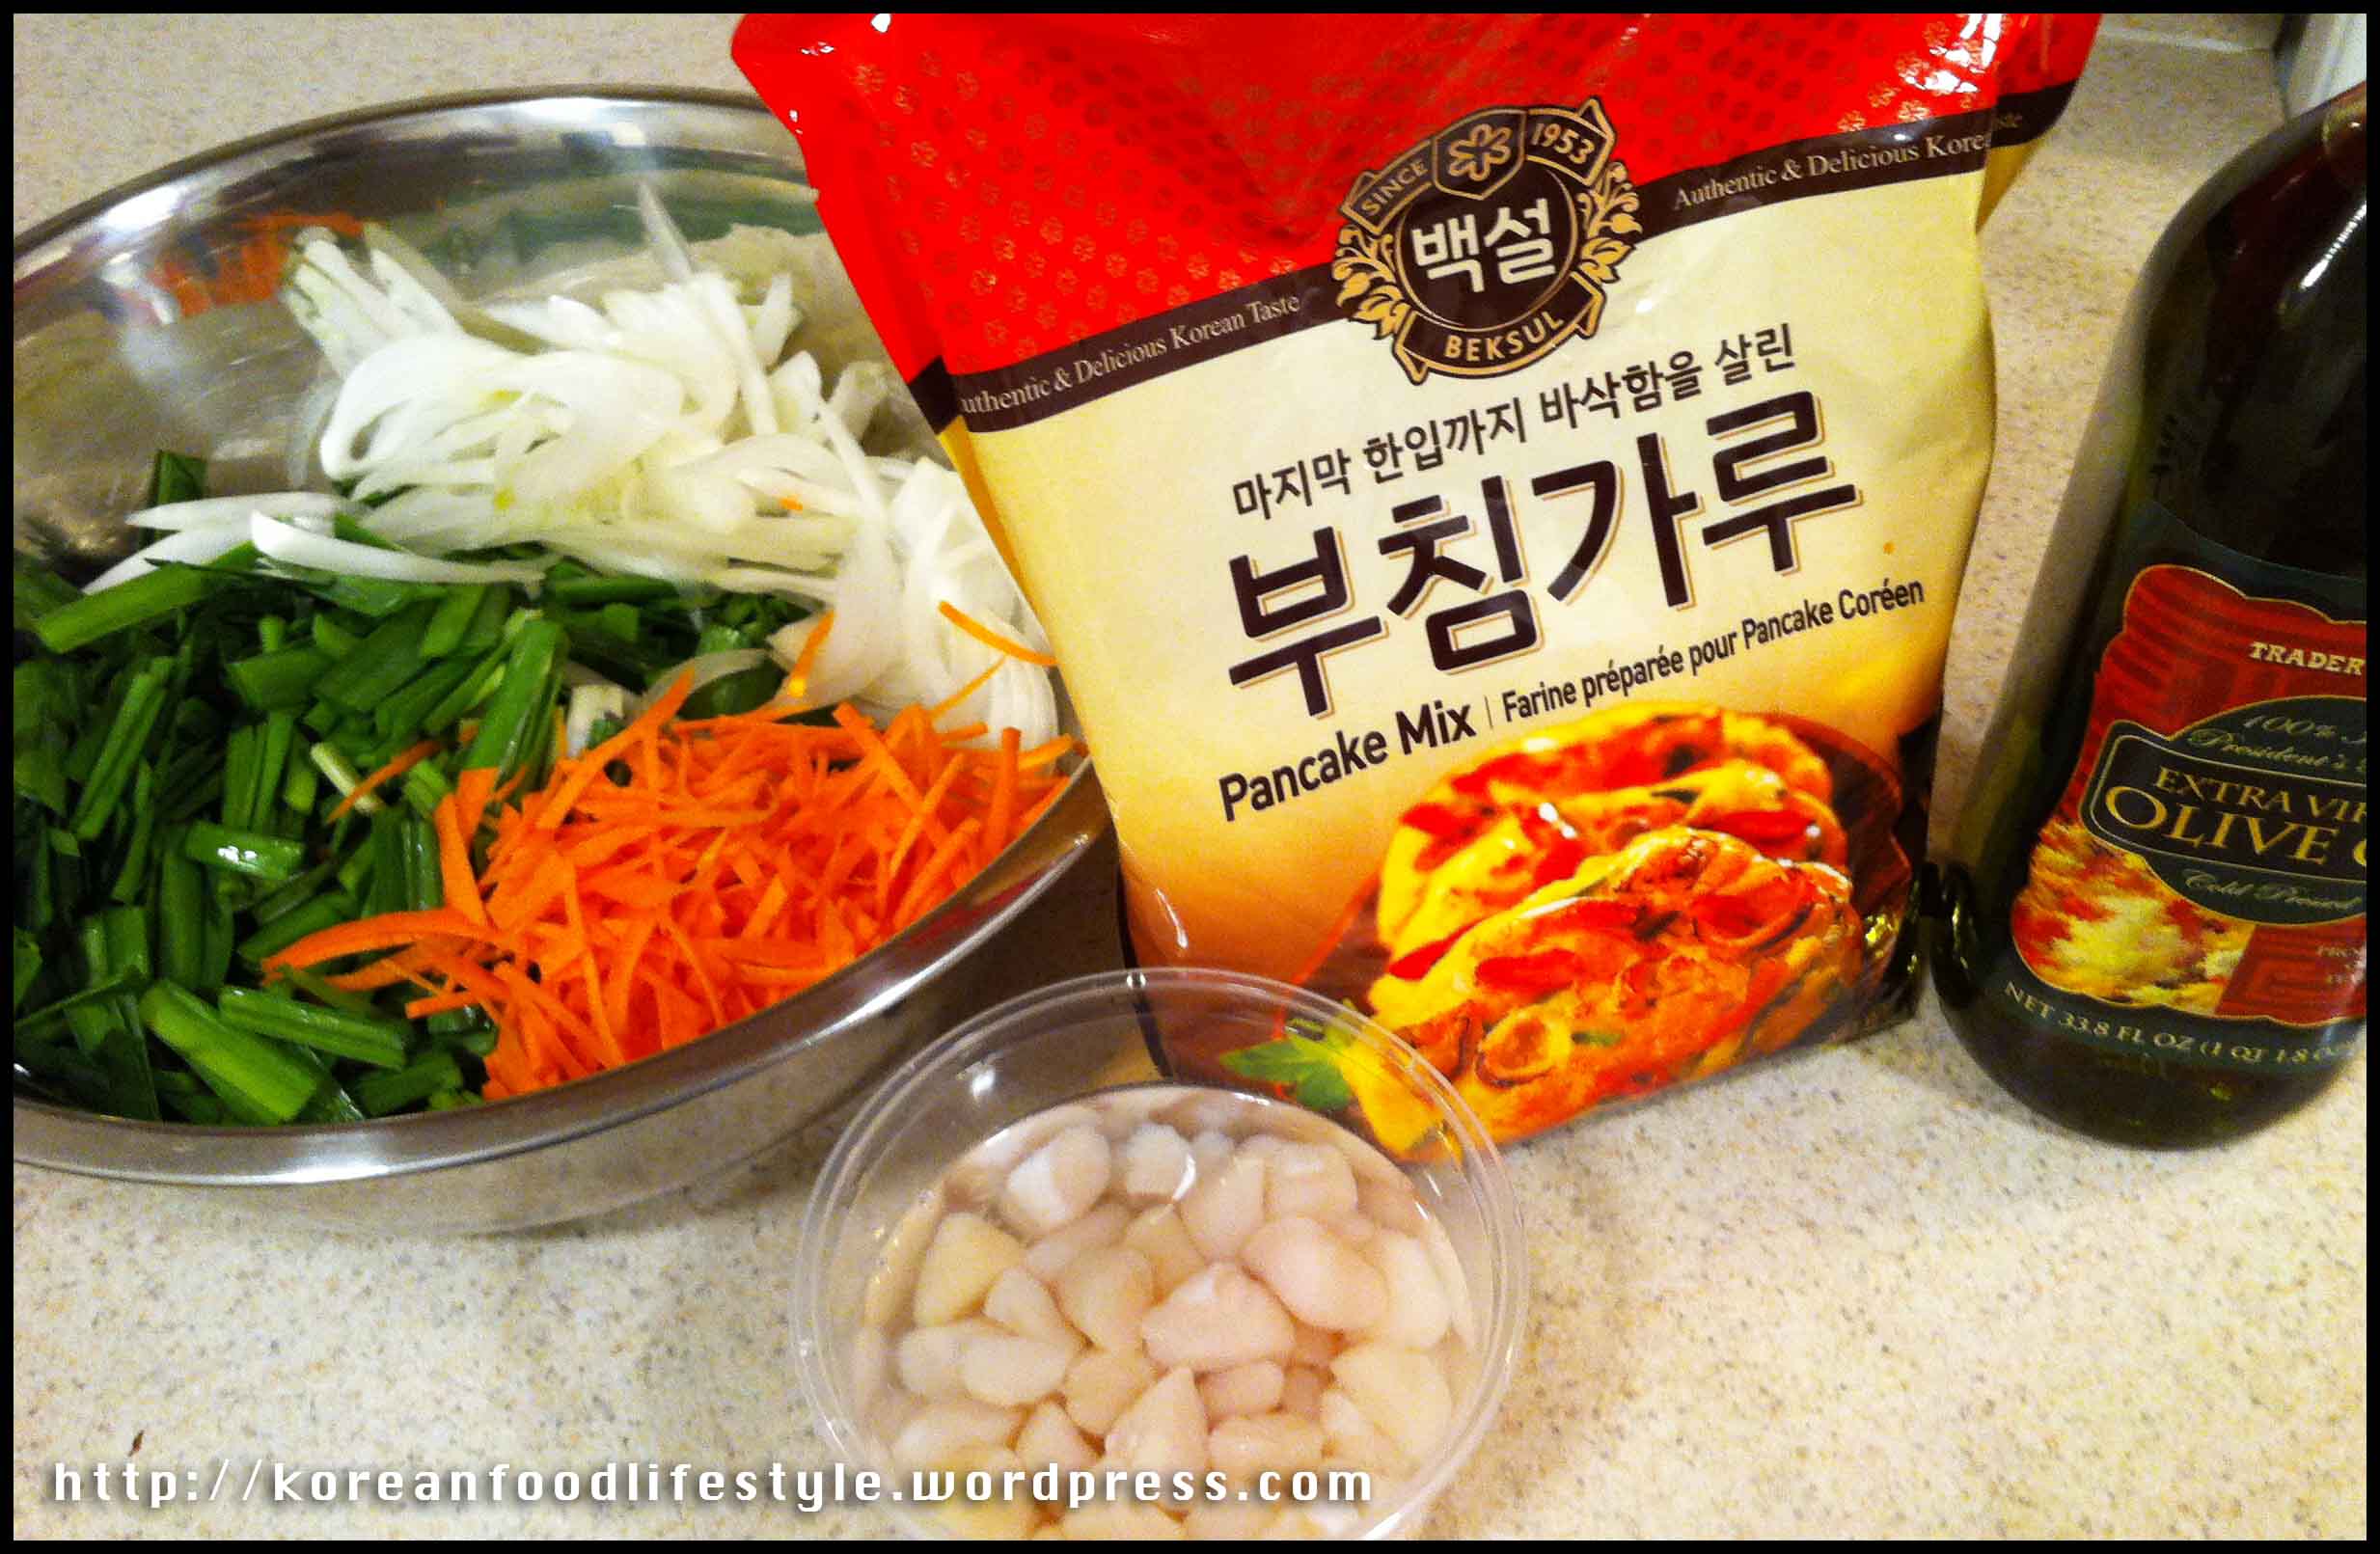
- 3 cups Korean frying flour** (bu chim gae ga ru – 부침개가루)
- 4 cups water (mul – 물)
- 1 egg (gyae ran – 계란)
- Optional: A bit of Sweet Rice Flour (chap ssal ga ru – 찹쌀가루)
- Optional: Chopped spicy pepper for heat
- Optional: Other veggies such as mushrooms, zucchini, etc.
- MODIFICATIONS:
- *Actually the original recipe calls for sliced squid. If you can find it, use it. It adds a chewiness that gives the pancake great character. However, any seafood will work here, we chose bay scallops due to our preferences. To make the dish vegetarian, you may leave it out.
- **If you don’t have or can’t find this, don’t worry. Korean frying flour is just flour, sugar, salt, and baking powder…and some other minor flavorings. We often use plain flour and add a pinch of salt, 2-3 pinches of sugar, and a pinch of baking powder.
- Drinking Sides – Anju
- Banchan
- Quick and Easy
- Not Hot-At-All or Spicy
- Exotic Ingredients
- Vegetarian
- On the cheap
- When one says chives they often think of green onions or a flavor of potato chips. This are not American chives, which are often tubular. One can possibly find them in an American grocery however but you would probably have better luck in your local Asian grocery. You will be able to tell the difference because Korean Chives (most likely called Chinese Chives in the grocery store) are flat not tubular. They look like a bundle of grass. It should be wrapped and about 1.5-2 feet long.
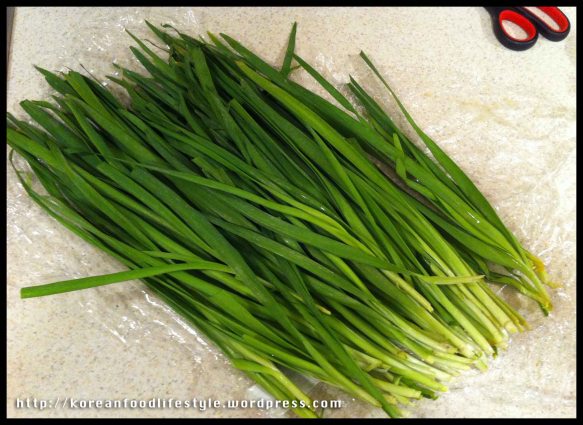
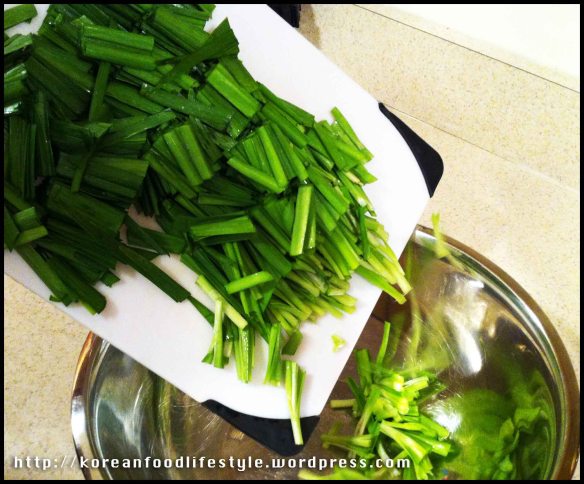
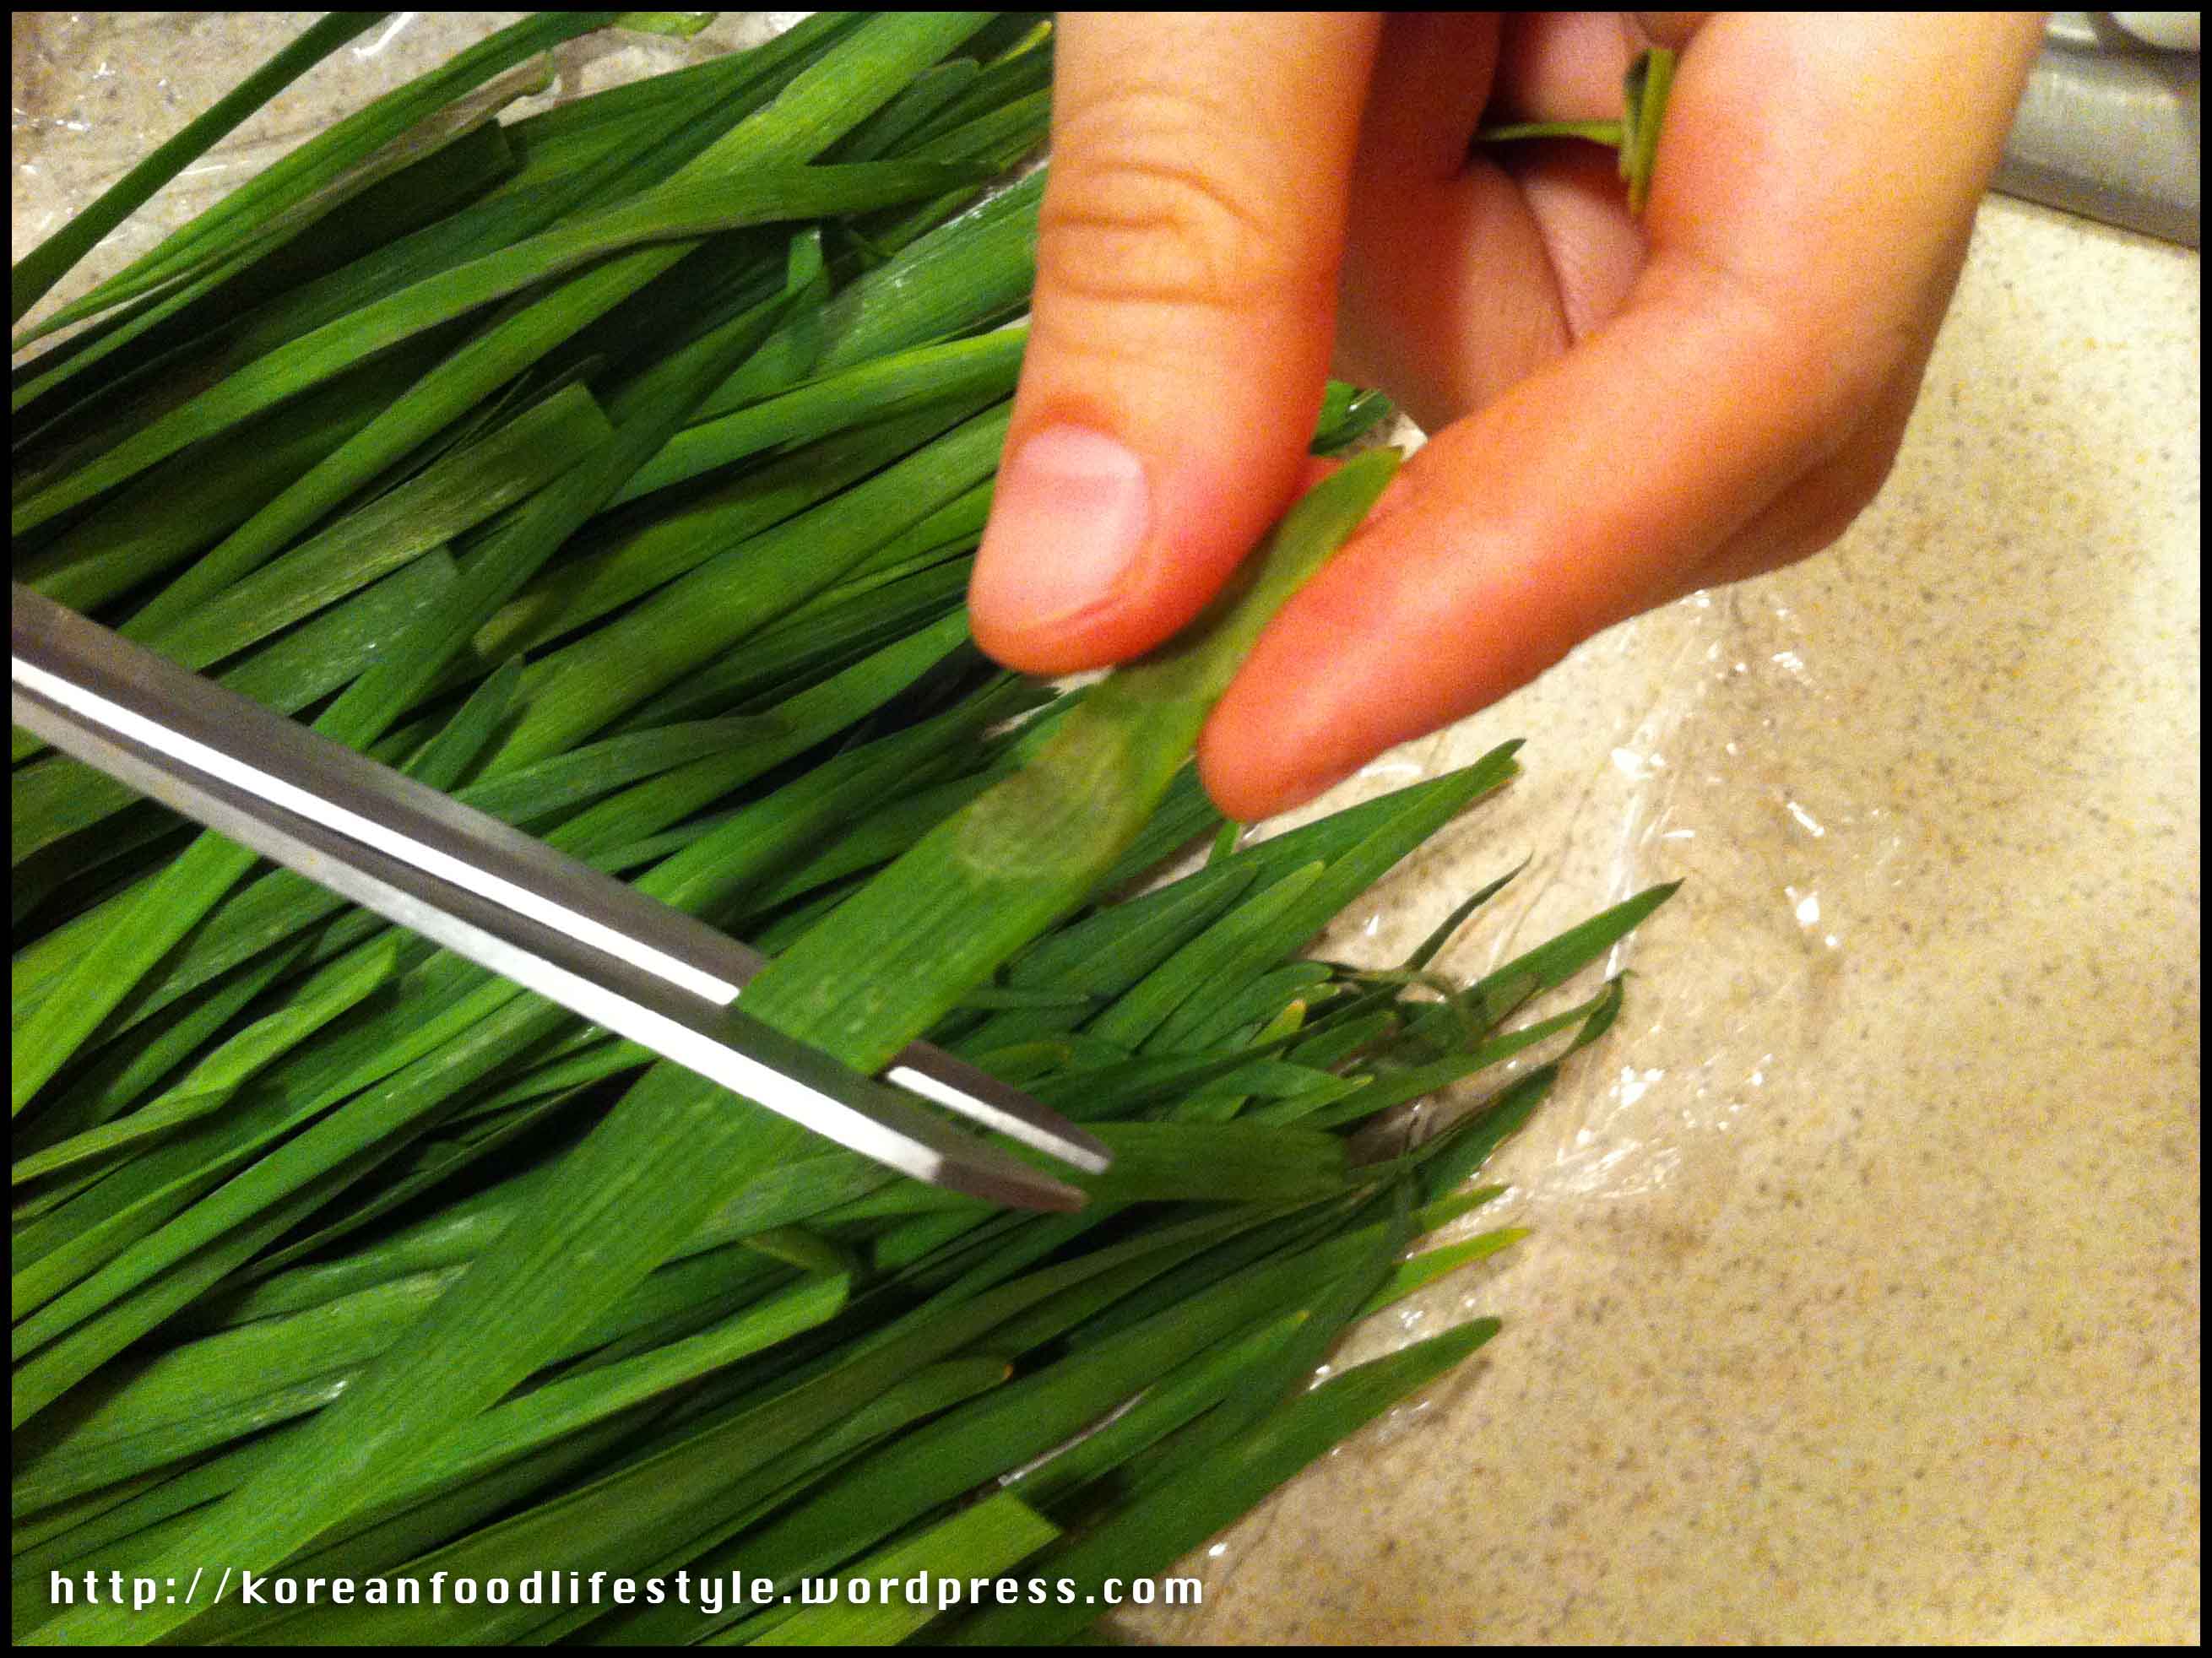
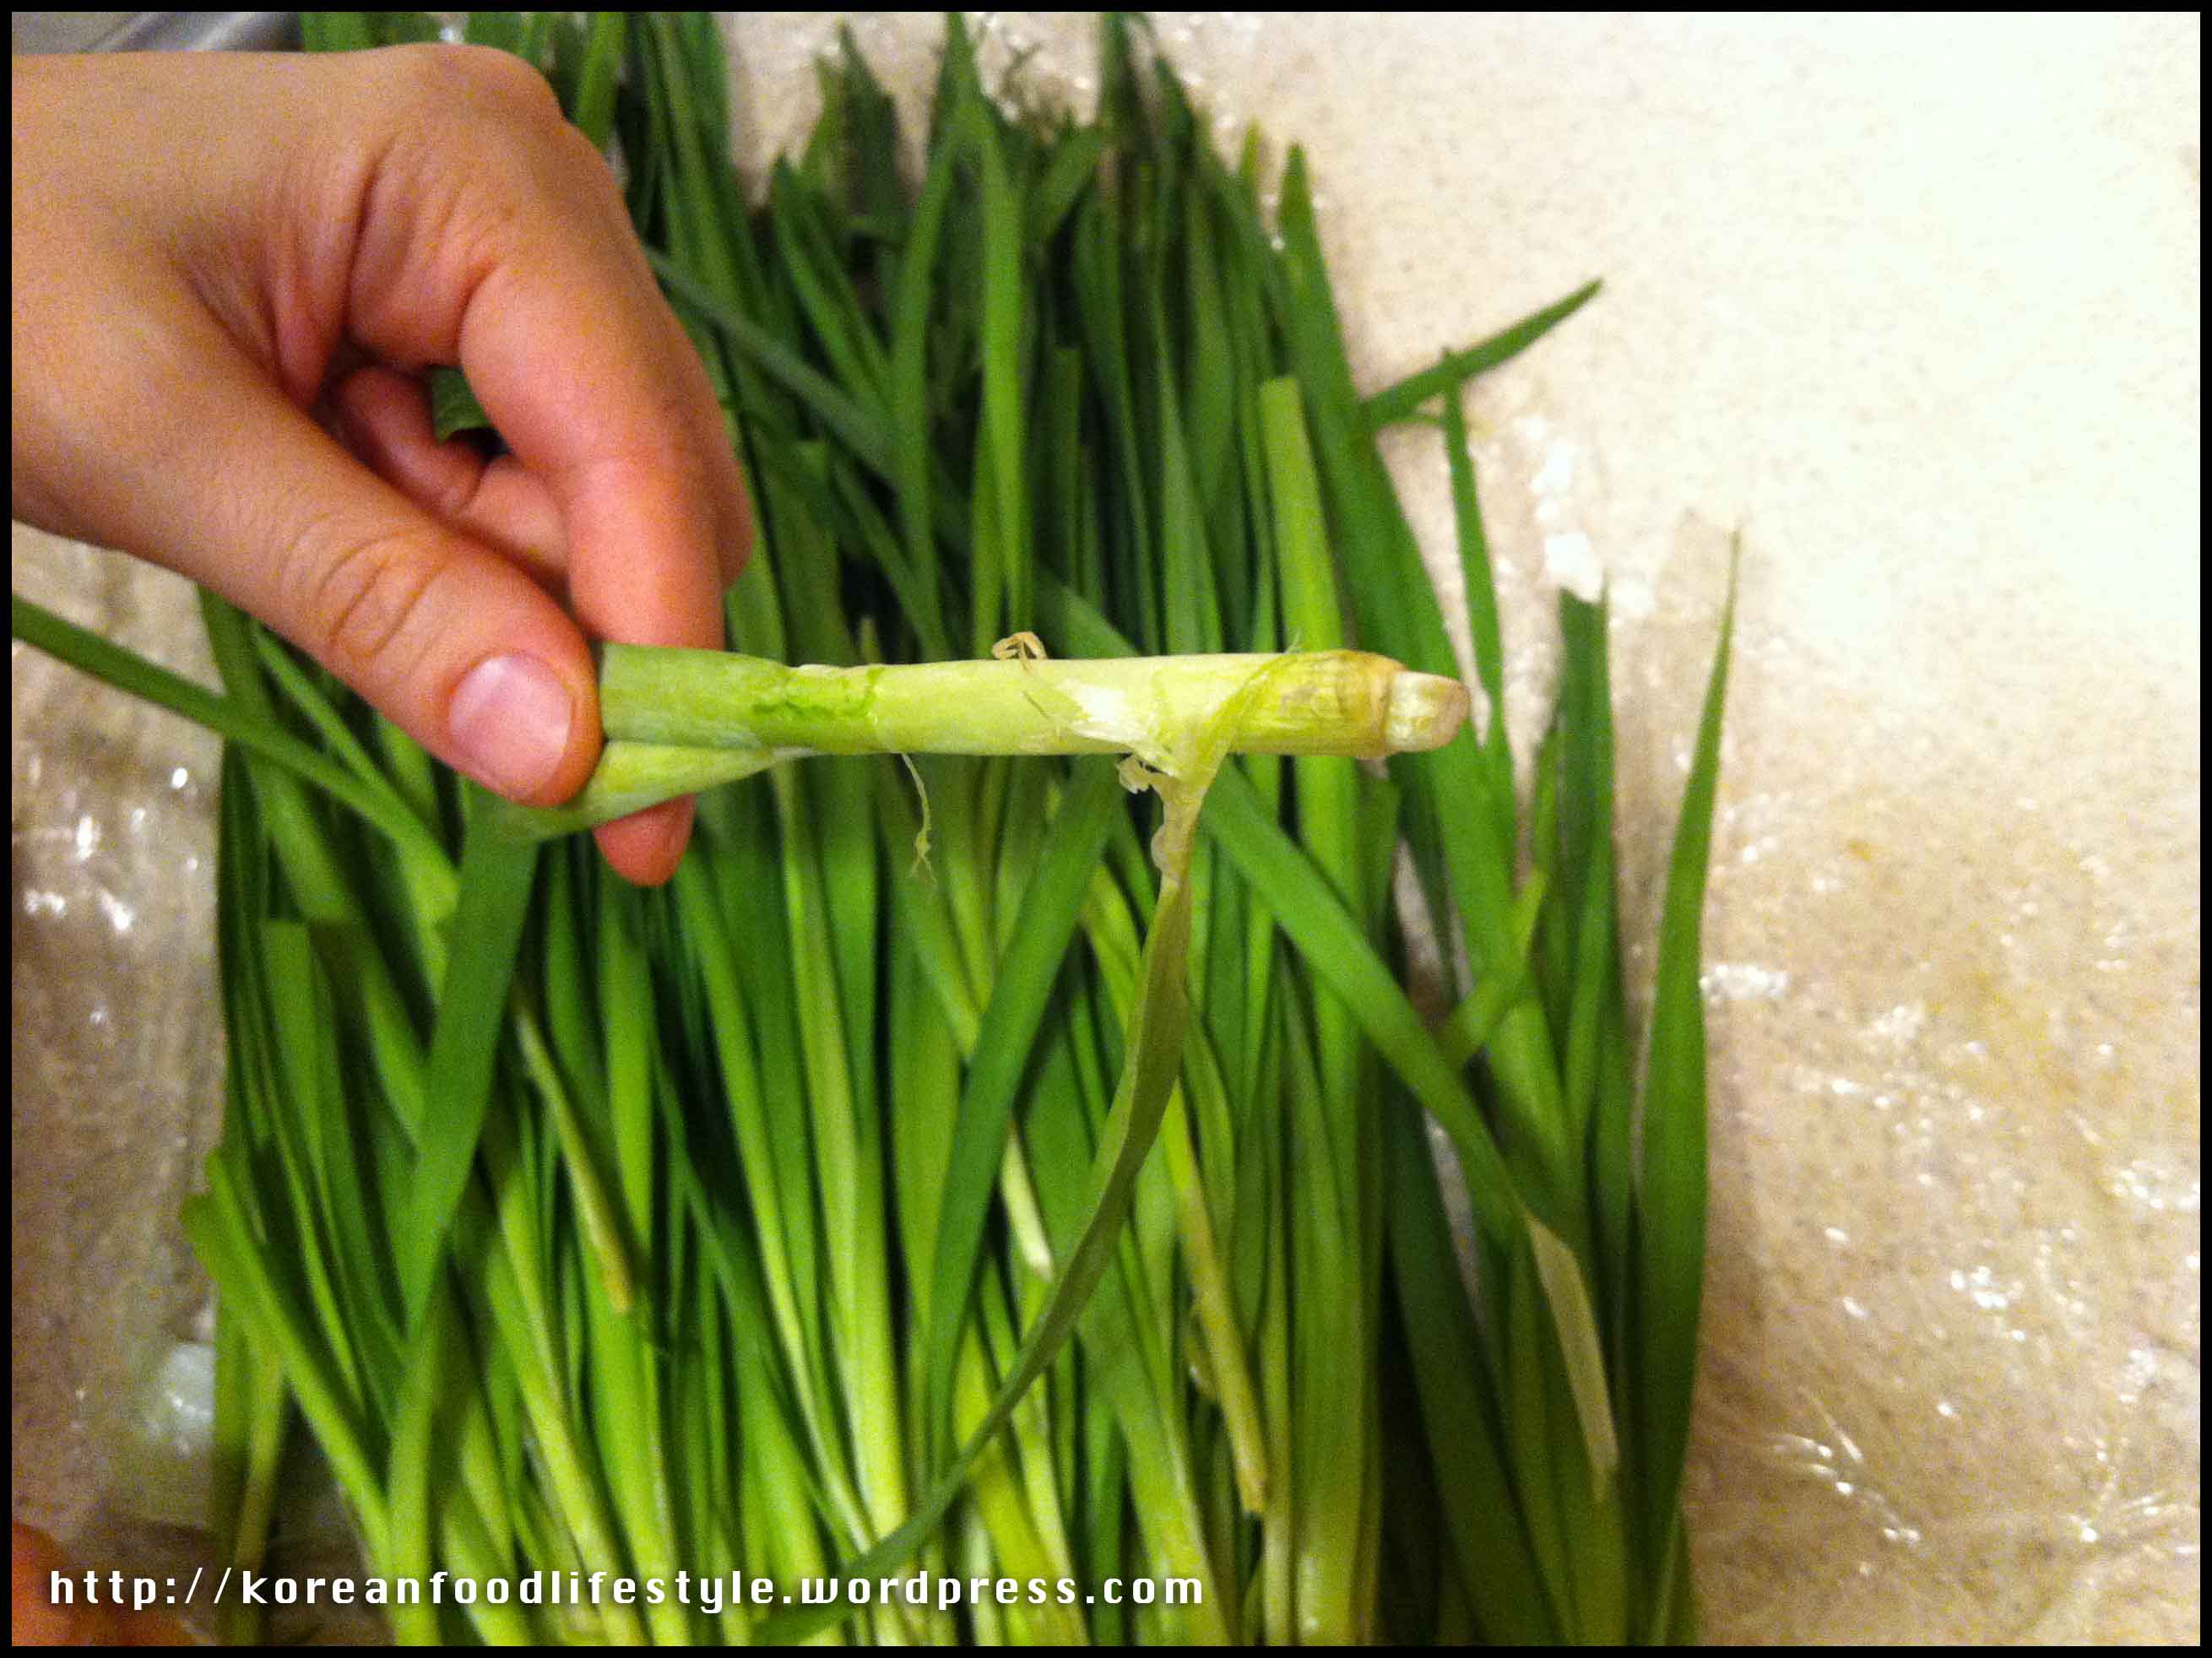
- They are not cleaned when you buy them. So you will need to work a bit to clean both the tops and bottoms. This is easily accomplished by chopping of the bottom inch of the chives, and the top inch or two. But if you want to be a little more selective and think that throwing away those inches of food is regrettable (아깝다) then you can individually clean each stalk as needed. Here are a photos to show what to look for. Also make sure you rise them after cleaning.


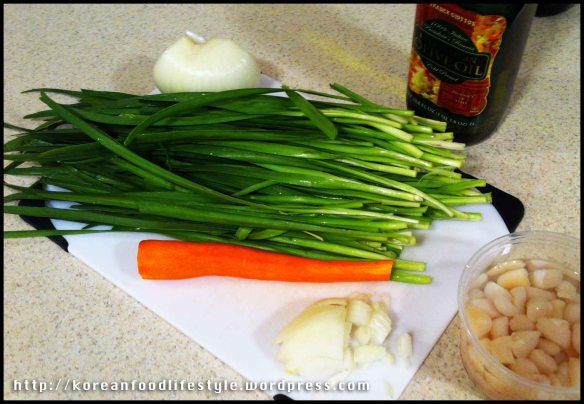
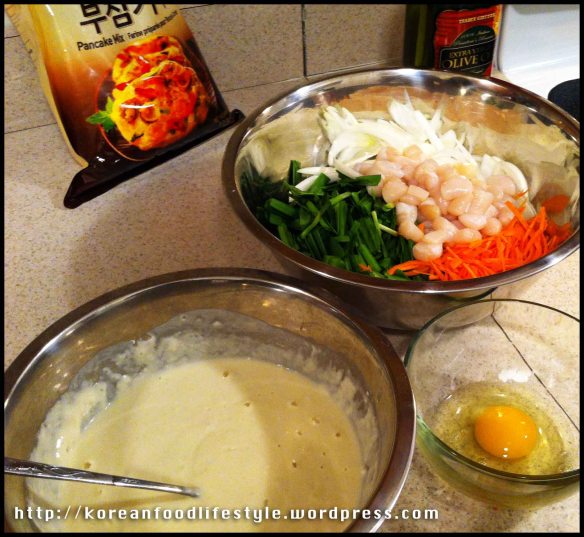
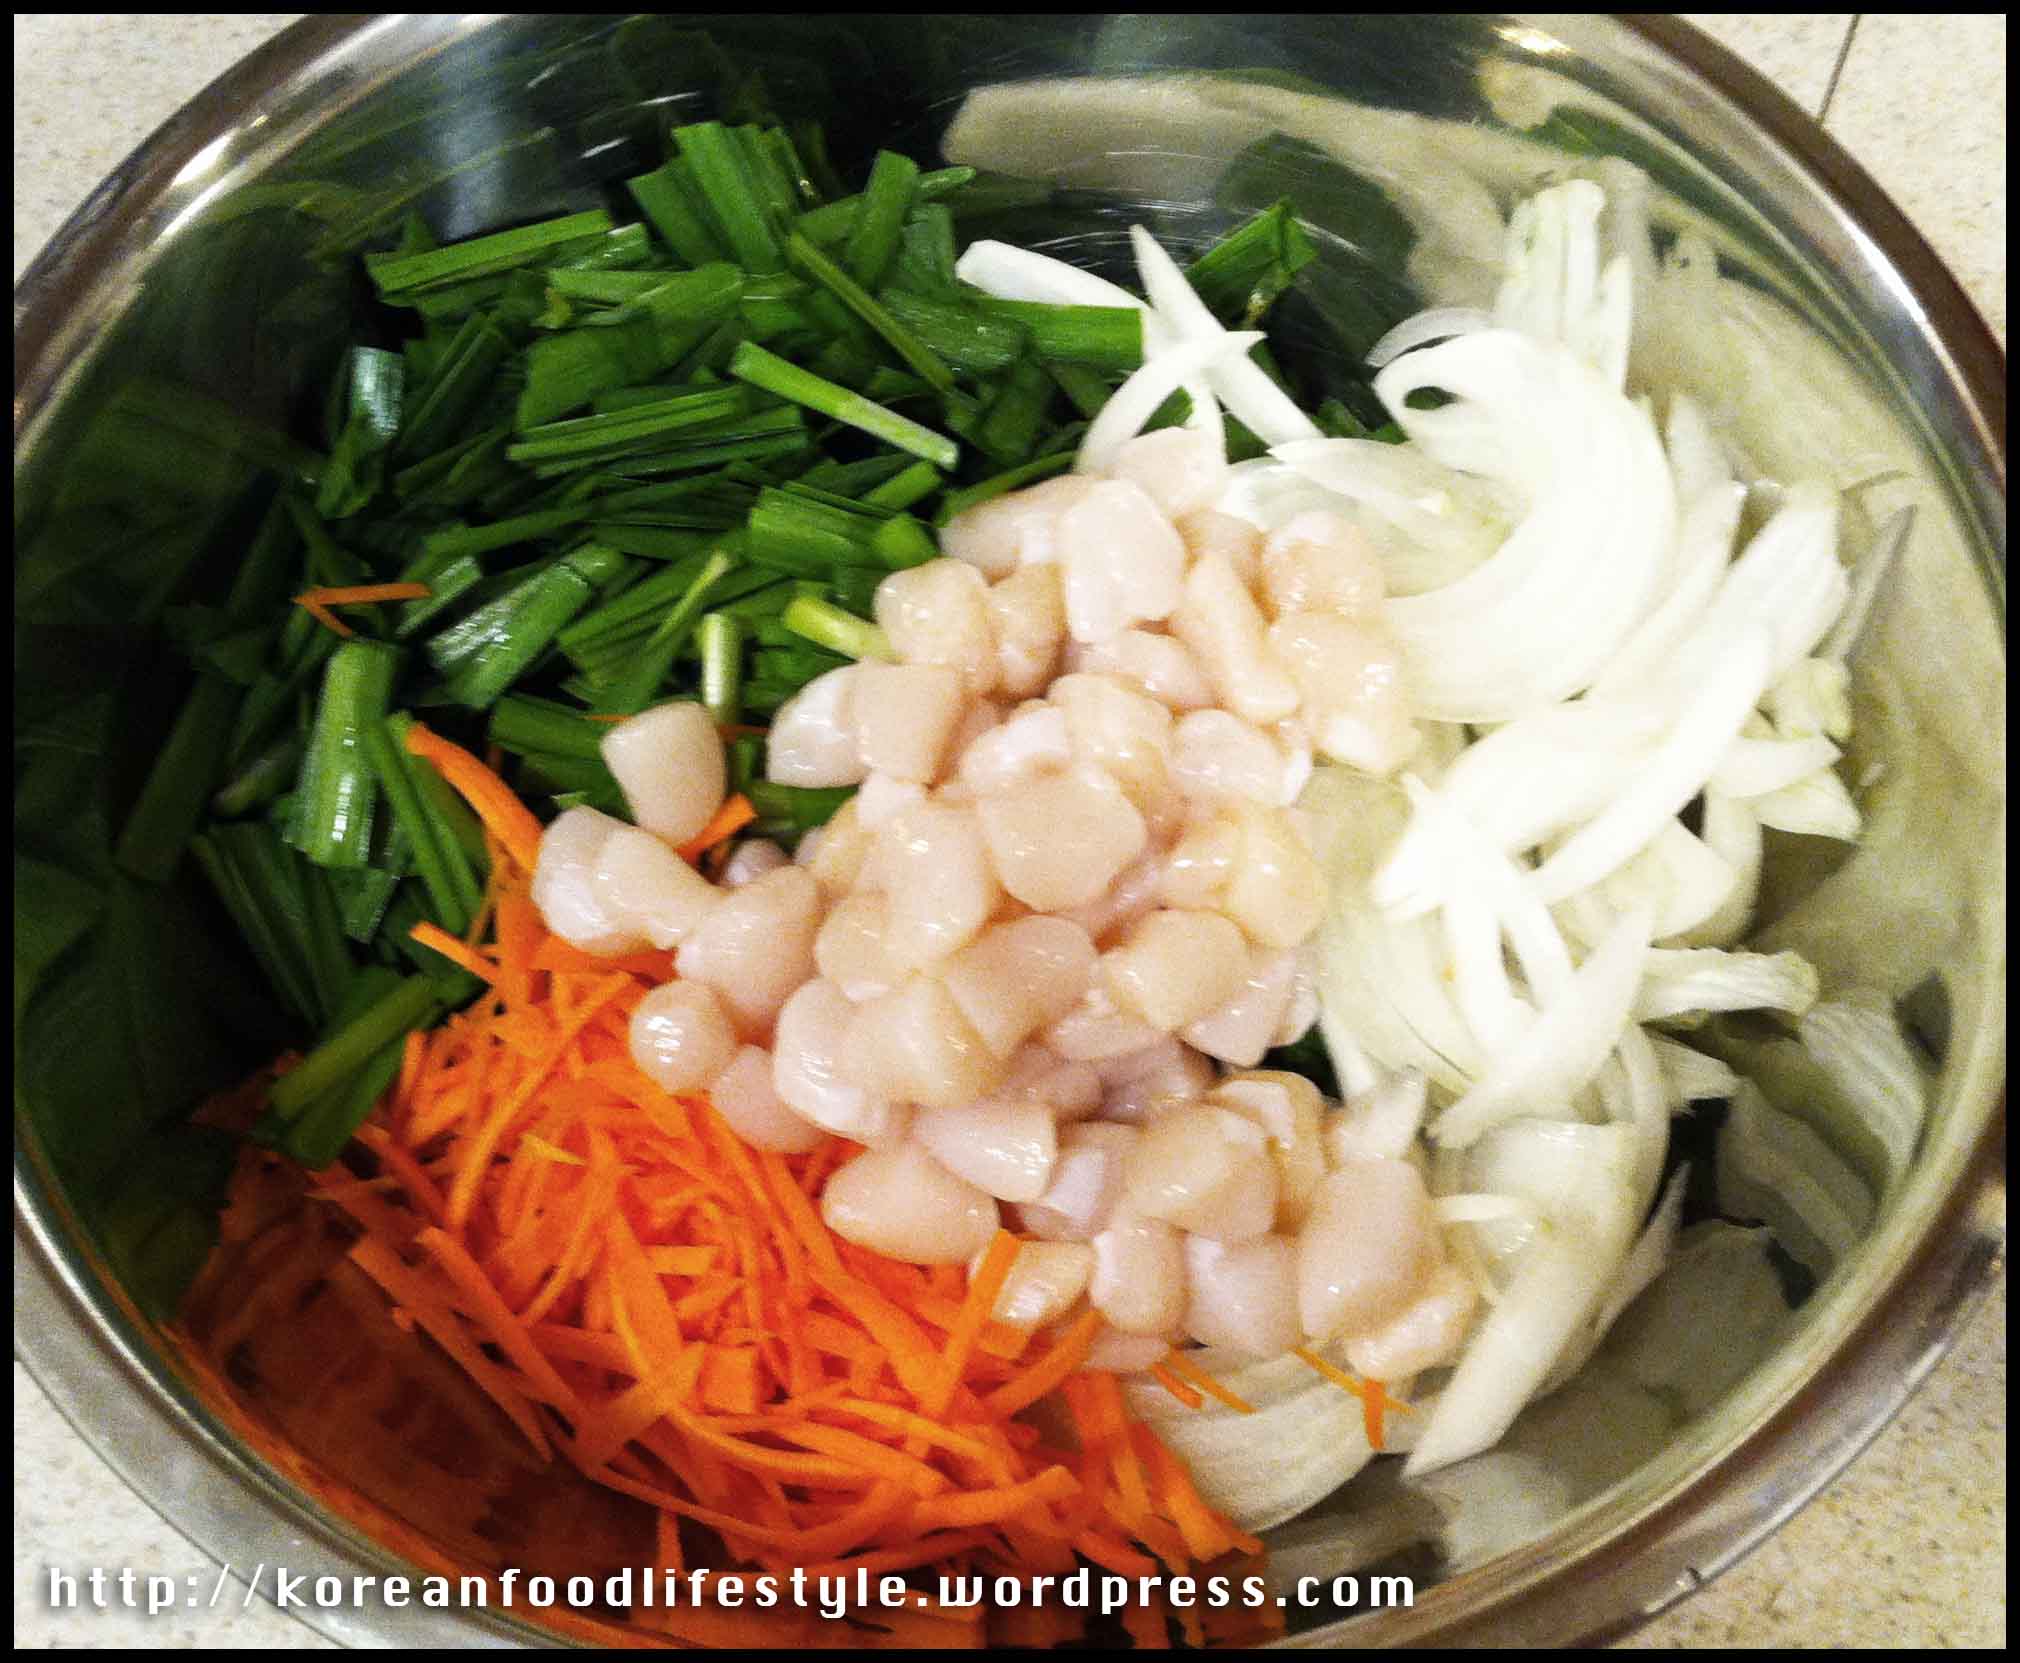
- Peel the carrot and onion, wash them both, and place your scallops in water and let them soak until you need to add them. A note about the onions here. You should be using vidalia onions or other sweet onion. It’s more true to the flavor to Korean onions. The onions in the front of the picture are for the dipping sauce (see below)
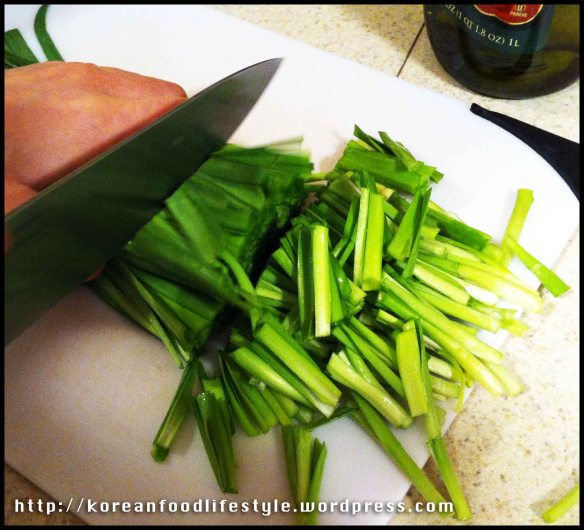
- Cut the chives into pieces about 1.5-2 inches long and place them into a big bowl
- Next julienne the carrots. Here I cheat because I find julienning just to tedious. I use my peeler as a knife to cut the carrots into strips as think as the peeler can make them, then I julienne those strips. This picture shows all the stages. These pieces should end up about 2 inches long as well.

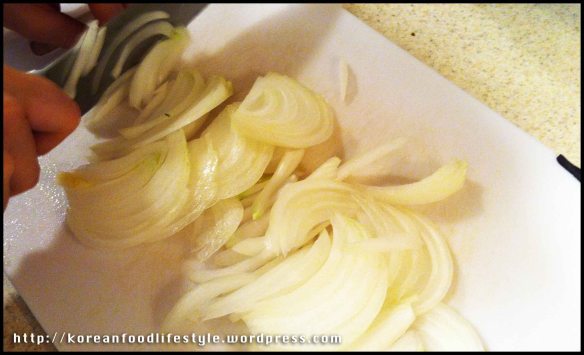
- Chop the onions so that it results in long thin strips like the rest of the ingredients (you’re seeing a trend here?)
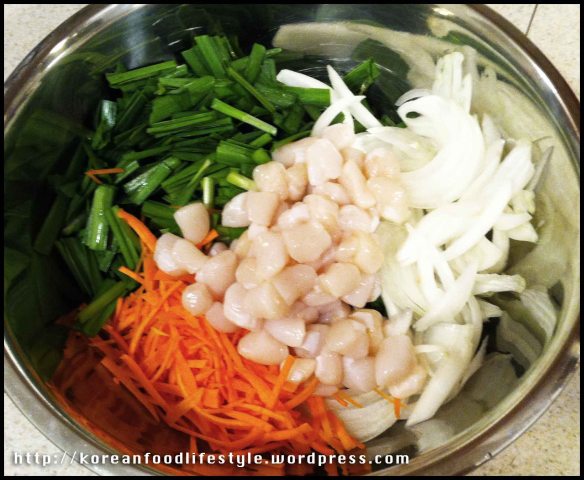
- Put everything into the bowl. Make sure to drain the scallops first. I often put a pinch of salt in at this stage and mix it around. The salt starts to soften and “kill” the veggies even before you fry them.
- Now it’s time to make the mix. Mix equal parts of the flour mix with water. Prepare the egg. *OPTIONAL: add a few tablespoons (I like even more than that) of Sweet Rice Flour to the mix. This will give the pancake the crispy/chewy combination.
- At this point it’s a good idea to start up your frying pan, although you could do this a few steps back as well. It’s always important to make sure you don’t start frying with cold oil on a cold frying pan. Drop some olive oil (grapeseed oil it better if you have it) on the pan and let it sit on medium-high (maybe a 6 on a 1-10 scale) heat for 5 minutes or so.

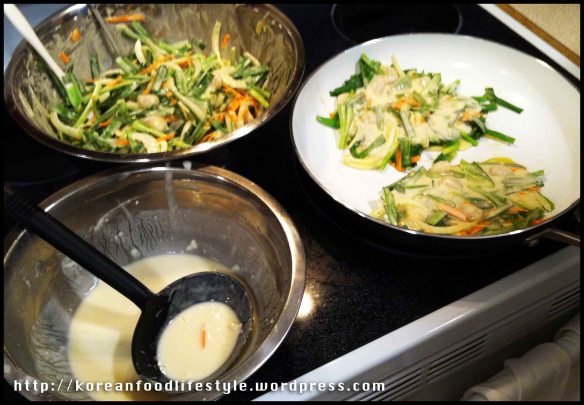
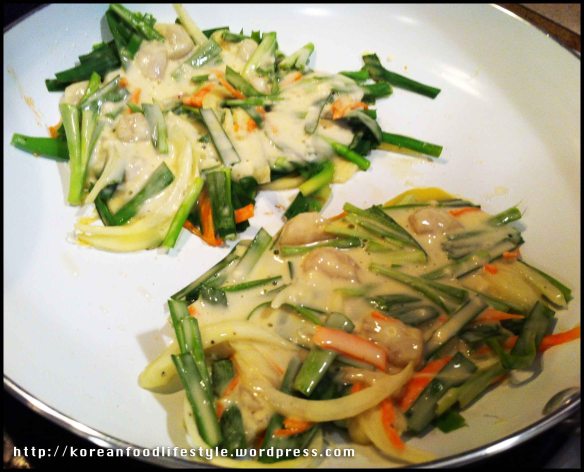
- Now it’s time to start frying. Put 2/3 of the flour/water mix in with the veggies and mix it well. Leave about 1/3 out in another bowl as shown below. Then start frying. Place the mixture on the frying pan just think enough so that you don’t see any pan. Mine usually ends up being about 1/2 inch think. You can make smaller pancakes or huge ones. After you place the mix on the frying pan, push it down a bit, and then use the mix you reserved to fill in the gaps where you think it needs a little extra bond. It’ll be a lot of veggies and a little flour mix…it’s okay, it turns out super tasty. Although, here IS a point where you’ll have to adjust the amounts as needed. Fry one up first, if it doesn’t hold together well, feel free to make up some more flour/water mix and add it to it. Or just add flour if it’s too runny. Or just add water if it’s too think, you get the picture.
- Flip when ready. Let it brown a bit. Here’s a picture of a large, whole-pan pancake we made. It’s about the right amount of done. But this to can be adjusted to preference.
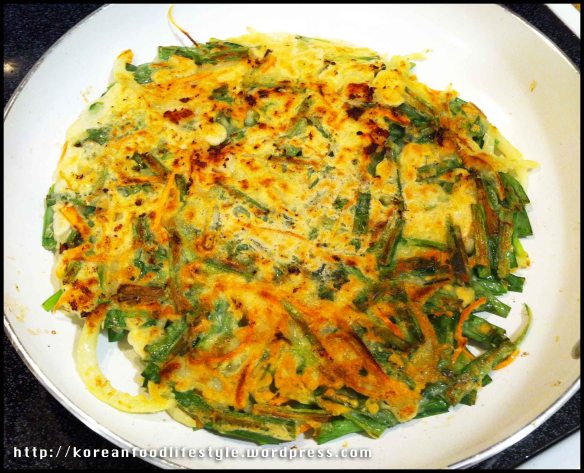
- That’s it! Enjoy by pulling it apart with chopsticks or hands, dipping it in the sauce (shown below) and eating!


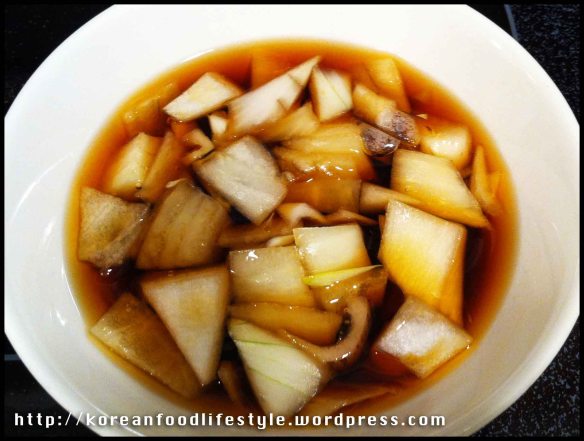
Onion Dipping Sauce
- 3 TBSP Soy Sauce (gan jang – 간장)
- 1 TBSP Vinegar (shik cho – 식초)
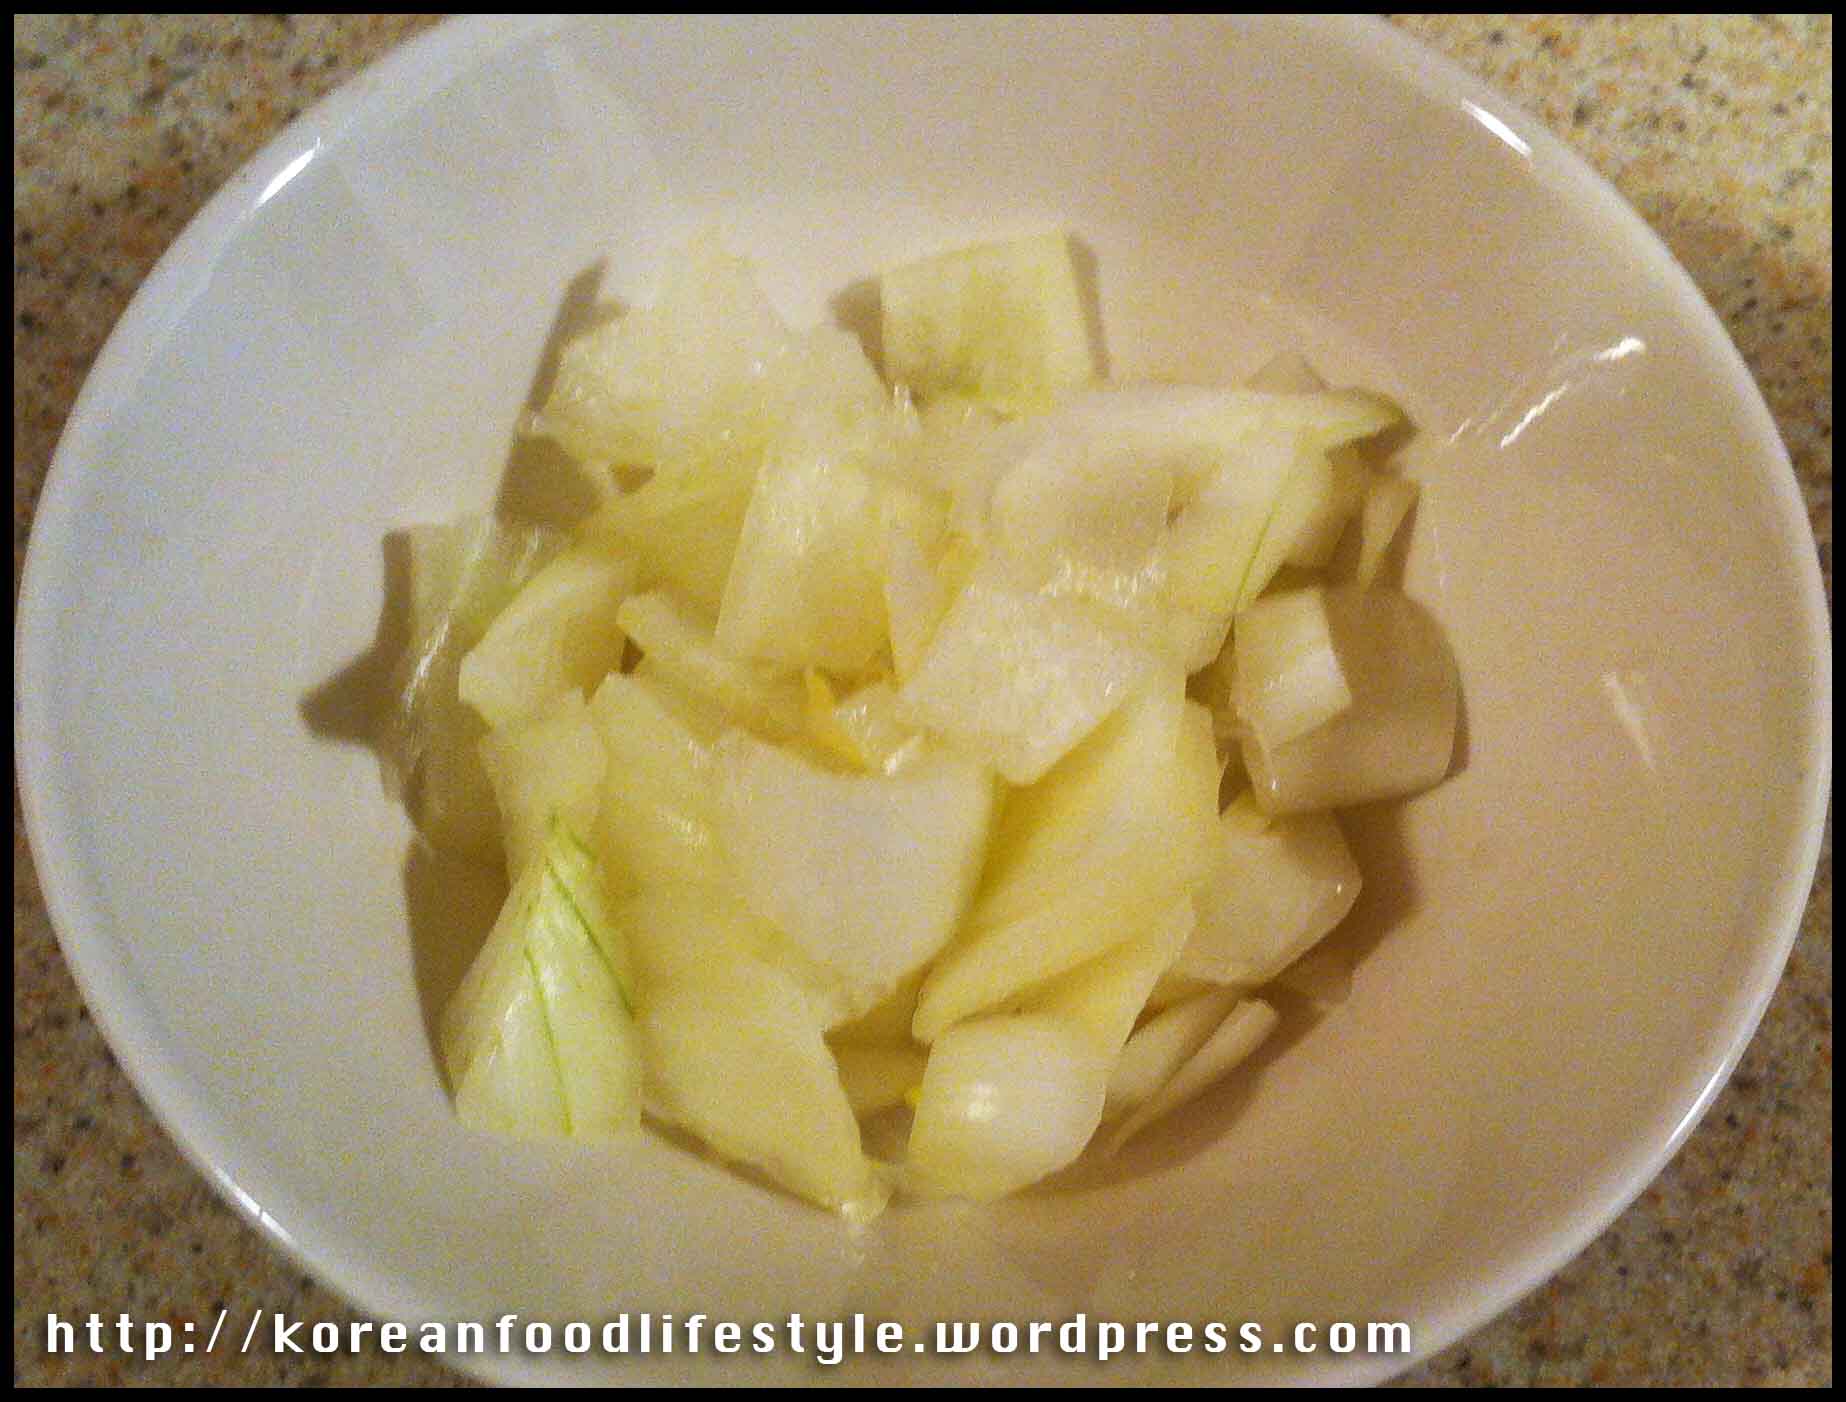
- 1/4 sweet onion (yang pa – 양파)
- 3 TBSP water (mul – 물)
- Put the onions in a bowl

- Add soy sauce
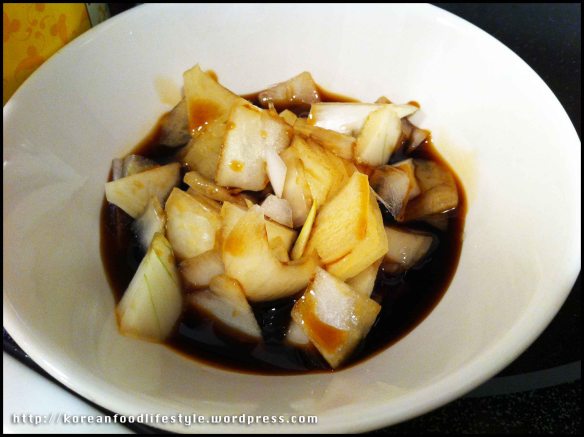
- Add vinegar and water. Let sit at least 30 minutes (overnight is better). The you will know it’s ready when the onion become a little waterlogged in the edges and start to absorb the soy sauce/vinegar mixture. The longer you let it sit, the more the onions will absorb.


Do you have comments? Suggestions? Questions? Leave them below and I will answer right away!~
 Often referred to as cuttlefish in America, squid is eaten in many forms in Korea. This is a wonderful tasty banchan to accompany rice. If your not a fan of seafood as all, perhaps wait a bit to try this one; however, this has only a very mild seafood taste, a little bit spicy while not overpowering, with a touch of a nutty flavor when garnished with sesame seeds.


